
Last updated November 15, 2026
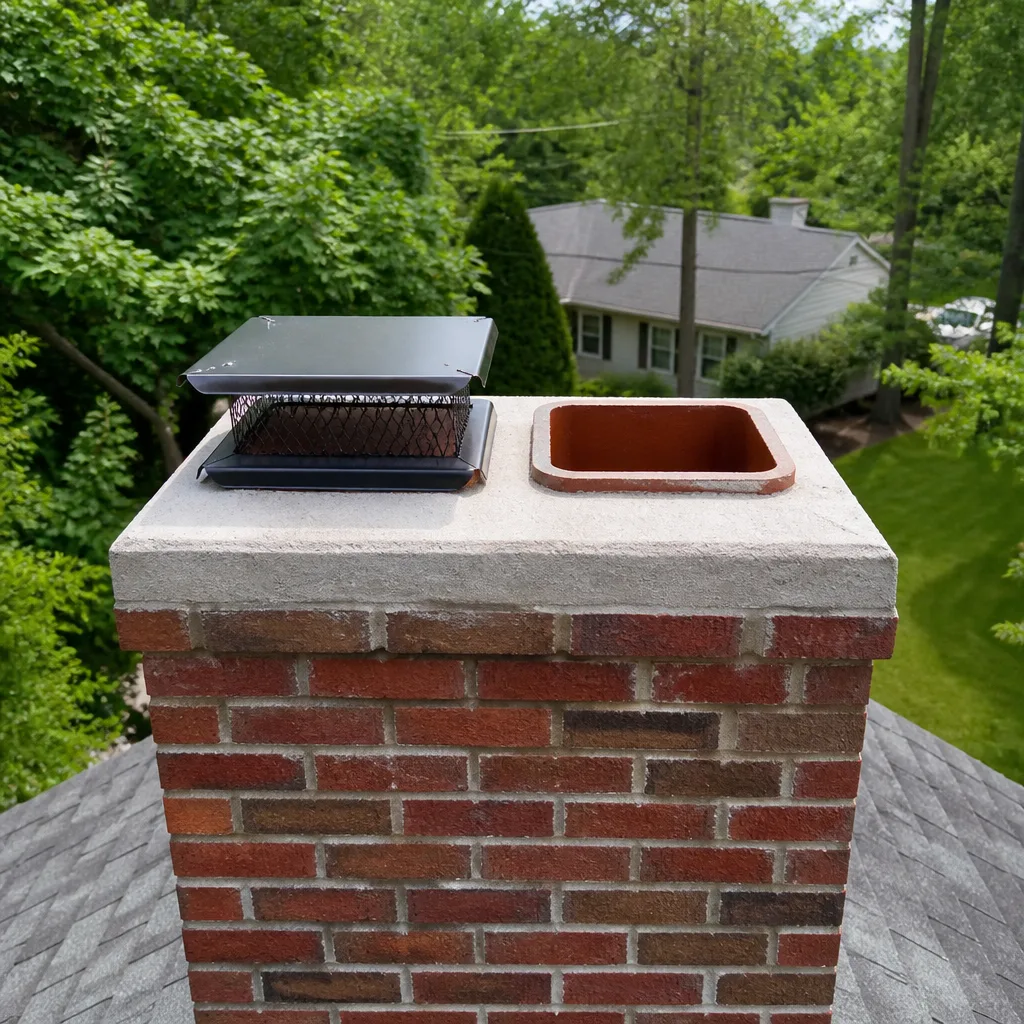 Sweep & inspection
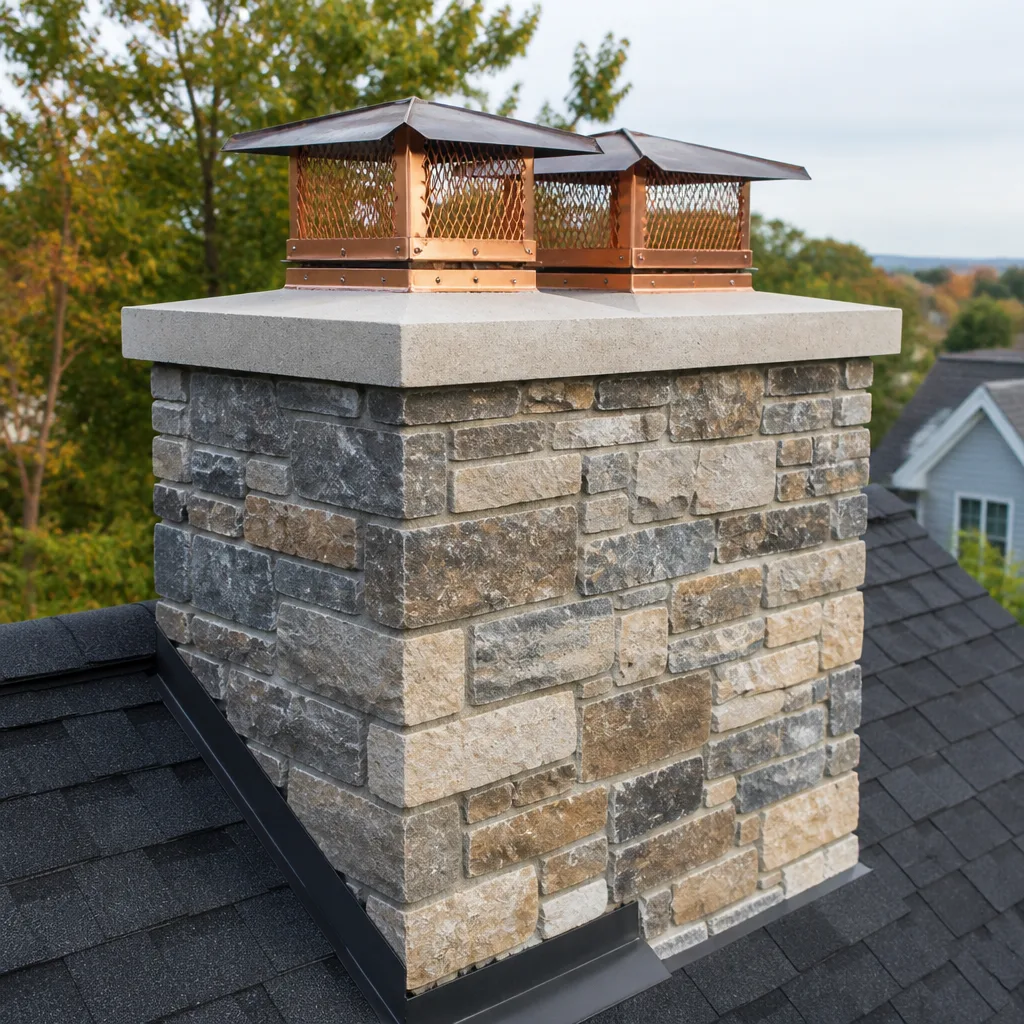 Caps & crowns
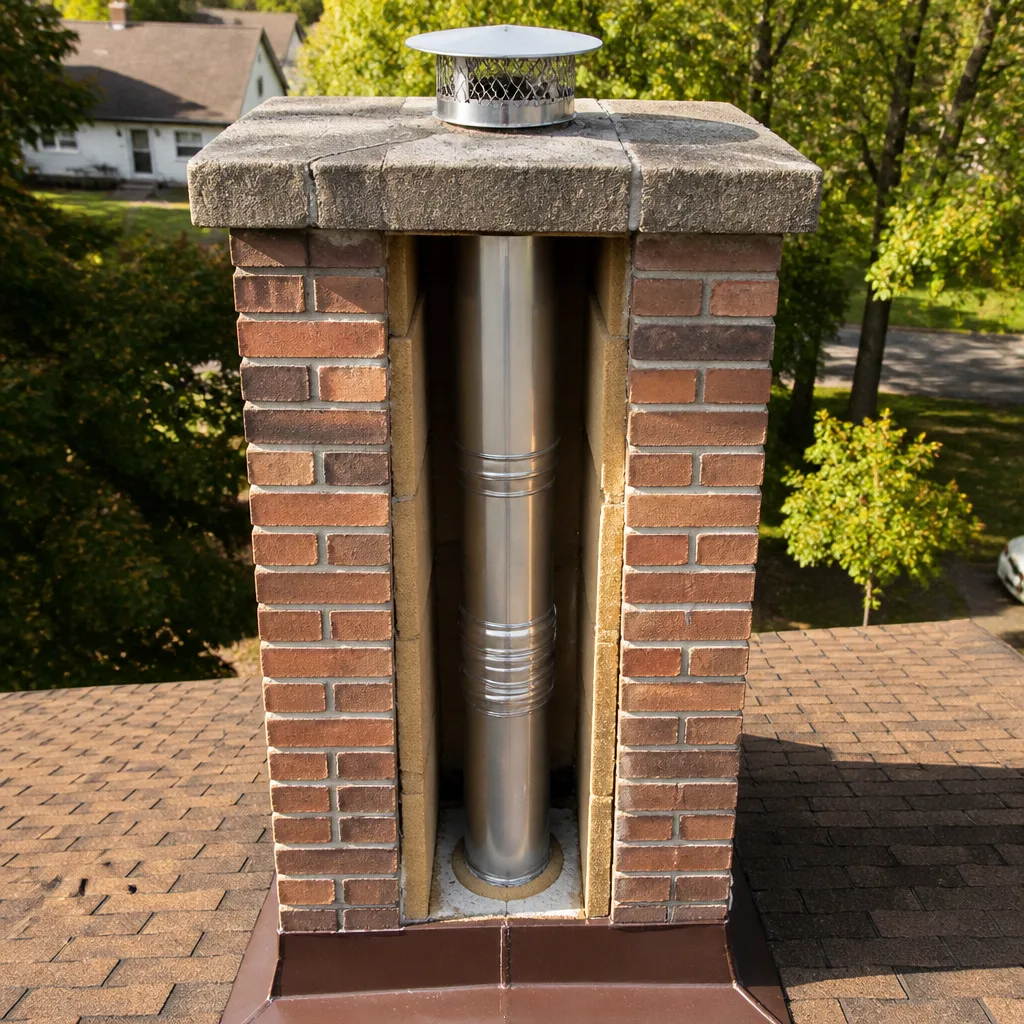 Flue relining
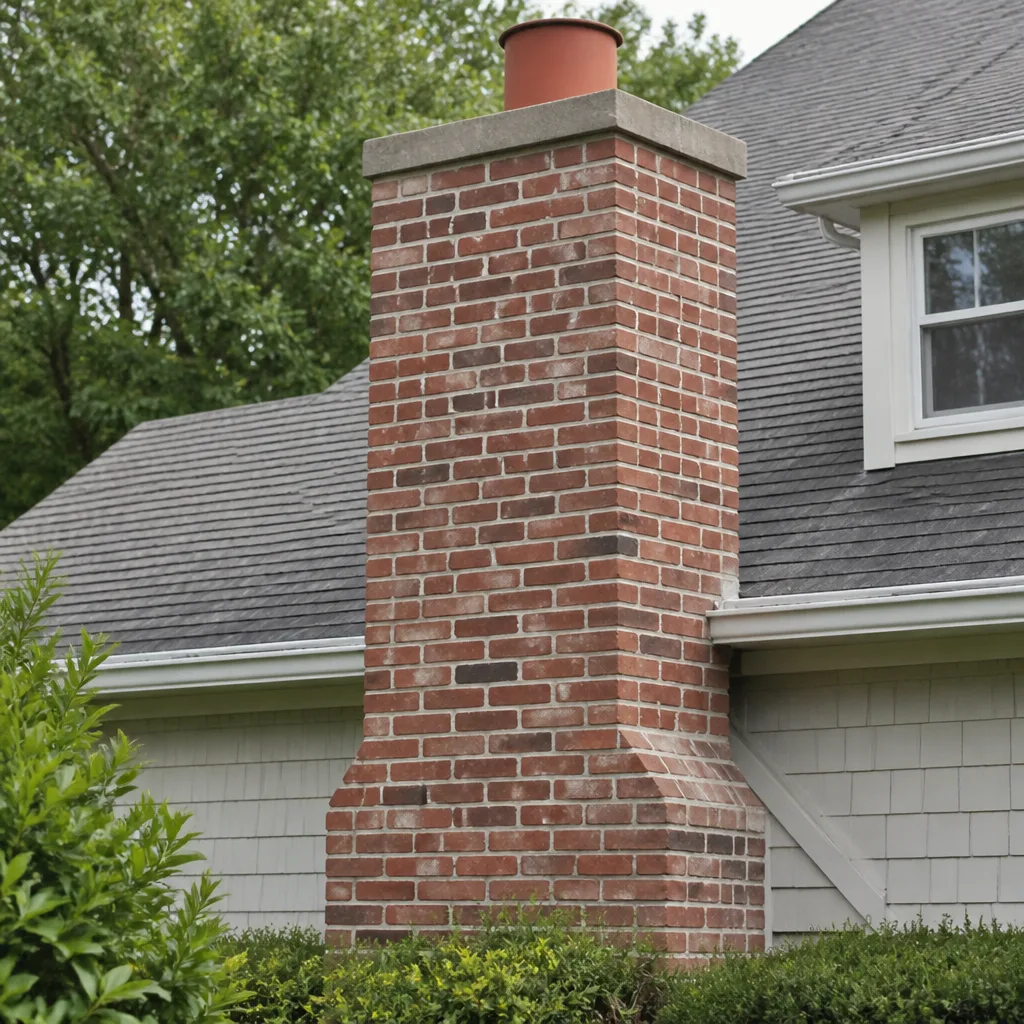 Masonry repair
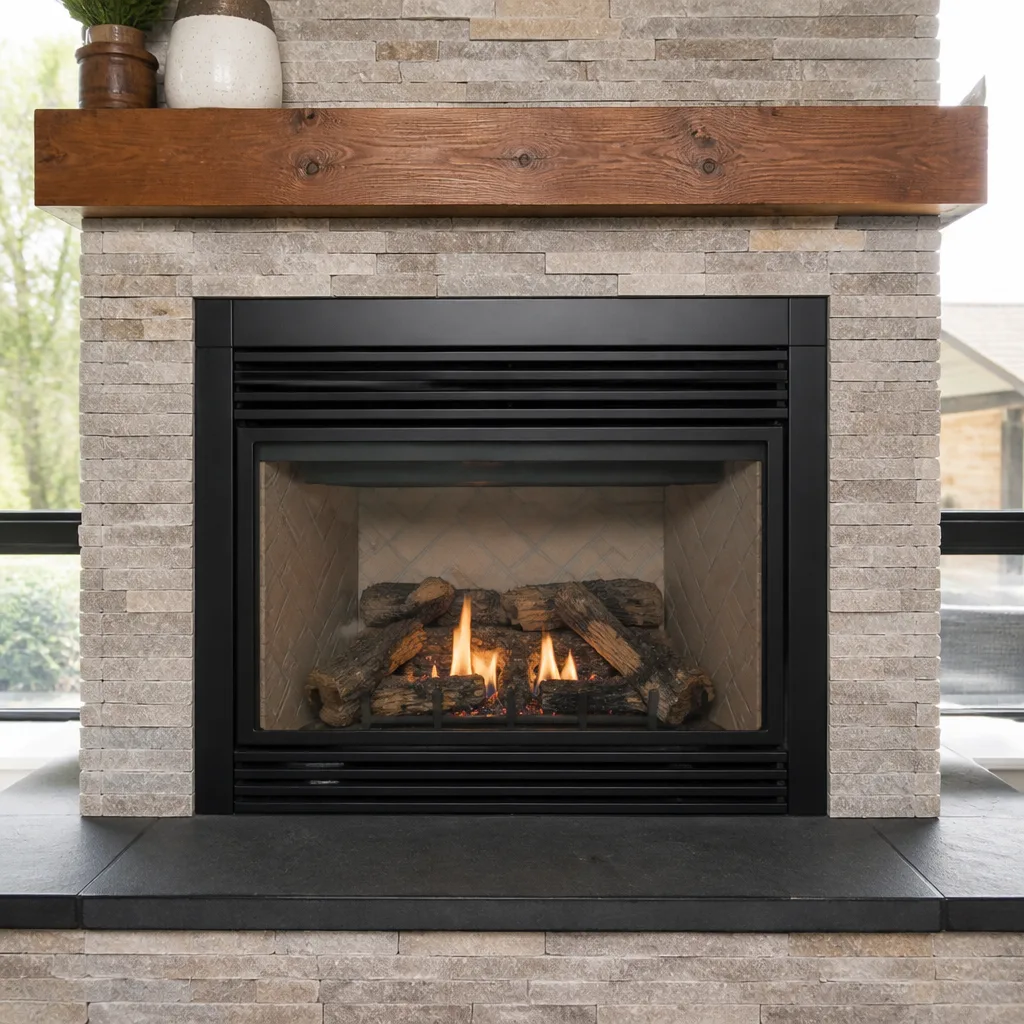 Gas fireplace service
Level 1 sweep and inspection to the NFPA 211 annual standard - flue, crown, cap, and flashing checked and photographed
Chimney sweep logs do not sweep chimneys. They loosen some creosote - which then falls where a brush and vacuum still have to collect it.
DIY vs Professional Chimney Cleaning: The Odessa Homeowner’s Decision Guide
Chimney brush kits sit on the shelf at every hardware store in Odessa, and plenty of homeowners buy one believing they’ve solved their chimney maintenance problem. But no brush kit comes with the ability to identify Stage 2 glazed creosote, the hardened, tar-like deposit that doesn’t brush away and that a standard sweep can actually ignite by disturbing it. There’s a second complication specific to this region: caliche grit blowing into an open flue coats the inside of the chimney with a pale, sooty film that looks exactly like ordinary soot on a visual check while hiding structural deposits underneath. A homeowner with a brush and a flashlight is more likely to miss a real problem than to fix one. This guide draws a clear line between the chimney tasks you can safely handle yourself and the ones that carry genuine risk without training, equipment, and a proper inspection behind them. You’ll learn what a brush actually removes, what it can’t reveal, how to read your own chimney from the ground, and when the math favors calling someone.
Quick Answer
DIY chimney cleaning is only appropriate for light surface tasks: checking the cap and screen from the ground, clearing ash and debris from the firebox, and keeping the exterior clear of obstructions. Everything past that – creosote stage classification, camera inspection of the liner interior, smoke chamber assessment, and identifying structural damage hidden under a film of caliche dust – requires professional equipment and training, because brushing a flue with unknown liner condition can spread glazed creosote, crack clay tile, or disturb a damaged liner in ways a homeowner can’t see or anticipate. In Odessa, the safer and more economical choice for anything beyond light surface work is a professional inspection and sweep that diagnoses before it cleans.
Styles & brands we work with
- Sweep & inspection
- Caps & crowns
- Flue relining
- Masonry repair
- Gas fireplace service
Table of Contents
- What a chimney brush actually removes (and what it doesn’t)
- The three stages of creosote and why stage matters more than volume
- What Odessa homeowners can safely do themselves
- What requires professional equipment and credentials
- The real risk of brushing a flue with unknown liner condition
- The Odessa-specific complication: caliche grit masking structural deposits
- Cost comparison: the professional visit vs. a missed Level 2 finding
- A simple decision framework for your chimney
What a chimney brush actually removes (and what it doesn’t)
A chimney brush is a mechanical tool, and it does one thing: it scrapes loose material off the flue walls. That means it removes dry, flaky soot and Stage 1 creosote, the powdery deposit that builds up in the first weeks of burning and comes off fairly readily. On a chimney that has been swept regularly and burned clean, dry wood, that’s most of what’s in there, and a brush does the job.
The trouble is that a brush cannot tell what it’s scraping. It has no way of distinguishing between a safe, thin film of soot and a thick deposit of hardened glazed creosote bonded to the flue wall, and no way to tell whether the material coming down is the only problem or a symptom of something deeper. What the brush leaves behind is often the more important question.
Here’s a short list of what a brush does not do:
- It doesn’t classify creosote stage. The difference between Stage 1 and Stage 3 is the difference between routine maintenance and a fire hazard, and you can’t assess it from the bottom looking up.
- It doesn’t inspect the liner interior. Brush bristles don’t report back whether a clay tile flue has cracked, whether a flexible steel liner has separated at a seam, or whether a prior repair is failing.
- It doesn’t reach the smoke chamber. Above the damper and below the flue, there’s a tapered space that collects deposits and is nearly impossible to reach from the firebox or the rooftop without specialized tools.
- It doesn’t assess the cap, crown, or flashing from a proper vantage point. Those require going up top or using a camera.
- It doesn’t evaluate draft. Poor draft can be a symptom of a flue that’s too small, too short, or partially blocked, and a brush won’t diagnose any of it.
We’ve built our whole approach around this gap. An inspection comes first, so a sweep is a response to a diagnosis rather than a guess. That’s the foundation of any chimney sweep we do, and it’s why the answer to “should I clean this myself” almost always comes down to what you can’t see.
The three stages of creosote and why stage matters more than volume
Creosote forms when wood smoke cools against the flue walls, condensing into a deposit that thickens over time. What most homeowners don’t realize is that the danger isn’t measured in how much creosote is present. It’s measured in what stage that creosote has reached, because each stage behaves differently under heat and under a brush.
Stage 1: Soot and flaky creosote. This is the powdery, dusty black fluff that builds up quickly and brushes off readily. It’s the easiest stage to remove and the least dangerous, though it still needs clearing so it doesn’t become a base for Stage 2 deposits.
Stage 2: Hardened creosote. This is a crusty, dark layer bonded to the flue wall. A brush can sometimes break it loose in pieces, but it doesn’t come off cleanly and often leaves a hardened residue behind. Stage 2 deposits burn hotter than Stage 1 and can ignite if heated enough.
Stage 3: Glazed creosote. This is the tar-like, shiny, hardened layer that looks almost like black glass. It is extremely combustible and extremely difficult to remove – brushes won’t touch it. Worse, running a brush through a flue coated in glazed creosote can shake loose chunks that fall, compact, and create a hotter-burning mass in the smoke chamber or at the damper.
This is where the DIY comparison matters most. A homeowner brushing a flue with Stage 1 deposits is doing real, safe work. A homeowner brushing a flue with glazed creosote they don’t know is there is creating an ignition risk in a system they can’t see into. We use HeatShield access for firebox and flue resurfacing because glazed creosote that resists removal often leaves a pitted flue wall behind, and a properly restored surface gives deposits less to grab onto on the next burning season. If you want to see what a proper chimney repair can address once a stage is identified, that’s the conversation worth having before you own a brush.
What Odessa homeowners can safely do themselves
There’s a real list of chimney tasks that are within homeowner reach, and it’s worth naming them plainly. None of these involve going into the flue or working on the roof.
- Exterior visual inspection from the ground. Stand back from the house and look at the chimney stack with binoculars. You’re checking for loose bricks, missing mortar, a tilted cap, visible cracks in the crown, or rust stains that suggest moisture problems. This is observation, not repair.
- Cap and screen check. From the ground, confirm the cap is intact and the spark screen is in place and not torn. A damaged screen lets in birds, squirrels, and debris; a missing cap lets in water and caliche dust.
- Firebox ash and debris removal. Once the firebox is fully cold and everything has been removed, clearing loose ash and debris from the firebox floor is safe. Use a metal container, never a vacuum that isn’t rated for ash. Leave the damper and the firebox joints alone.
- Damper operation check. Open and close the damper to confirm it moves freely and seals properly. If it sticks or won’t seat fully, note it for a professional.
- Clearing the hearth area. Keeping combustibles well back from the hearth is a basic safety habit, and it’s fully within your control.
What you should not do yourself is anything involving chemical creosote removers, which can damage a flue if used on the wrong liner material, or anything that requires getting onto the roof. We understand the impulse to check things yourself first. The useful thing that check can do is flag a problem for a professional diagnosis, not resolve it. If you’re in Odessa and unsure what you’re looking at, a free estimate is the fastest way to find out.
What requires professional equipment and credentials
The line between DIY and professional cleaning isn’t about effort or even skill. It’s about equipment and the training to interpret what the equipment shows. Three specific tasks cross that line, and each one is a place where a brush and a flashlight fall short.
Camera liner inspection. A professional inspection uses a camera on a flexible rod to see the full length of the flue from the inside. This reveals cracks in clay tile, gaps at liner seams, corrosion on a steel liner, and damaged parging. None of it is visible from below or above without the camera. The resulting photo report is what lets you see exactly what’s there instead of being told.
Creosote stage classification. Telling Stage 2 from Stage 3 reliably takes experience and, often, a physical sample. A professional can tell you whether your flue needs a standard sweep or a chemical treatment, and how urgently. This is the diagnosis that prevents the wrong cleaning method from making things worse.
Smoke chamber assessment. The smoke chamber is the tapered transition between the firebox and the flue, and it collects deposits that are hard to reach and hard to see. Its condition affects draft and fire safety, and assessing it requires both a camera and the training to know what a problematic smoke chamber looks like.
This is also where professional-grade components come in. If a repair is needed, we source from DuraFlex, HeatShield, Gelco, Olympia Chimney, Famco, and Copperfield, so the fix is built to a specification rather than improvised from hardware-store parts. We’ve seen what a poorly matched cap does to a chimney over a few seasons – a Gelco or Famco cap installed to spec keeps rain, wildlife, and caliche grit out in a way a generic cover won’t.
The real risk of brushing a flue with unknown liner condition
Here’s the scenario the DIY argument rarely addresses. A homeowner has a chimney with a liner they’ve never inspected. They buy a brush, run it down the flue, and something feels wrong – resistance, a change in sound, debris that’s different from what came out before. What happened?
The answer depends entirely on what kind of liner is in there, and the three common types behave very differently under a brush.
- Clay tile liners are the traditional choice and are common in older Odessa homes. They’re brittle. A stiff brush on a misaligned rod, or a flue with a pre-existing crack, can widen that crack or break a tile outright. A broken tile creates a pathway for heat and gases into the surrounding structure, and that’s a serious problem you can’t see when you finish brushing.
- Flexible steel liners are more durable but are joined at seams and can develop kinks, dents, or separated joints over time. A brush run aggressively can catch a seam and pull it open. Once separated, the liner no longer seals, and gases escape behind it.
- Damaged or unlined chimneys are the most dangerous case. If a prior liner has failed and the flue is running on bare masonry, brushing removes whatever is protecting the masonry and accelerates deterioration, while giving the homeowner a false sense of having cleaned and inspected it.
The risk isn’t that a brush is dangerous in a healthy chimney. It’s that a brush is dangerous in a chimney you haven’t had inspected, because you’re operating on an assumption about the liner that could be wrong. In our experience, the visit that resolves this is the inspection, and if the liner needs relining, DuraFlex systems can be installed during the same visit rather than scheduled as a separate job. That’s the whole point of handling sweep, repair, and inspection as a connected process. You’ll find the broader picture of what a professional Chimney Sweep Odessa handles when all three are done in sequence.
The Odessa-specific complication: caliche grit masking structural deposits
Odessa sits on ground that is heavy in caliche, the hard, calcium-carbonate-rich soil and rock that underlies much of the Permian Basin. It’s the same stuff that turns up as pale, dusty grit on windowsills and cars after a windy day, and it’s also the stuff that finds its way into a chimney through an open flue or a damaged cap.
Inside a flue, caliche grit settles onto the deposits already on the walls and forms a pale, powdery film. To a homeowner looking up with a flashlight, that film looks like ordinary light soot. It’s the same color, roughly the same texture at a glance, and it sits in the same places. What it hides matters: the film can be coating a thin layer of calcified soot, a cracked tile joint, or a band of hardened Stage 2 creosote that would look very different in color if the grit weren’t sitting on top of it.
We’ve seen this enough times in Odessa to treat it as a standard part of the assessment. The implication for the DIY decision is straightforward. A visual check from below tells you almost nothing in this climate, because the one thing you’re looking for – the true condition of the flue wall – is the one thing caliche grit is best at disguising. A camera inspection sees past it, and a proper sweep removes it before the interesting layers become visible. If you’ve been putting off an inspection because the chimney “looks okay from the fireplace,” the local soil is one more reason a look isn’t enough.
If you’re in the Odessa area and want a straight answer on what’s in your flue, our team can arrange a free estimate. Odessa homeowners we work with are usually surprised by what the camera shows the first time.
Cost comparison: the professional visit vs. a missed Level 2 finding
The cost question is the one that actually drives the decision, so it’s worth being honest about it. A professional visit costs money, and a brush kit costs less. But the comparison only works if you’re comparing the right two things: a professional visit that includes an inspection against a DIY brush that doesn’t.
We don’t quote prices here because every chimney is different and the written estimate sets the final price, but the shape of the math is worth understanding. Here’s what the two paths actually buy:
| Path | What you get | What you don’t get |
|---|---|---|
| DIY brush | Loose soot and Stage 1 creosote removed; savings on the visit | Stage 2 or 3 creosote classified; liner condition known; cracked tile or separated liner identified; smoke chamber assessed; cap and crown inspected; draft evaluated |
| Professional inspection and sweep | All of the above, plus a camera-based photo report and a written recommendation | Nothing – the diagnosis is the point |
The risk-adjusted version of this comparison: a missed Level 2 finding is a problem that wasn’t caught. A cracked tile, an unsealed liner seam, or a blocked smoke chamber can push the repair from a routine reline into structural repair of the surrounding chimney if it’s left long enough. That’s a materially different cost than a sweep, and it’s the cost you’re actually comparing when you decide to brush without an inspection. We can work with your insurer on qualifying repairs, which is worth knowing before a small miss becomes a large one.
The fair way to frame it: a professional visit that includes an inspection is the cost of knowing. A DIY brush is the cost of guessing. We can’t put a dollar figure on the difference here because it depends entirely on what your chimney needs, but the written estimate will tell you exactly what’s recommended and what can safely wait. Nothing gets recommended that isn’t backed by camera evidence you can see yourself.
A simple decision framework for your chimney
If you want a decision rule you can apply in the next five minutes, use this sequence. It’s built to protect the homeowner first and identify the real problem second.
- Has the chimney been inspected since you bought the home or since the last time you had it examined? If you can’t say for certain when the last inspection was, start with an inspection, not a brush.
- Do you know which type of liner you have? If you can’t say whether it’s clay tile, flexible steel, or unlined, a brush is premature. The liner type determines whether brushing is safe.
- Have you burned wood with visible smoke, a smoking fire, or green or unseasoned logs in the last season? If yes, the odds of Stage 2 or Stage 3 creosote go up, and the brushing risk goes up with them.
- Have you seen a dark, shiny, or glassy deposit on the flue walls? That’s a sign of glazed creosote, and a brush is the wrong tool for it.
- Is the cap intact and the crown free of cracks? If not, the problem is moisture and pest entry, and that’s a cap and seal issue, not a brushing issue.
- Been in the home for a few seasons and done all the checks above? Then a light surface sweep is within your reach, and a professional inspection even every few seasons keeps the record honest.
Whichever path you land on, the decision is better made once you’ve seen the inside of the flue. Our technicians have up to 12 years of experience reading exactly what a camera and a trained eye can see, and the inspection is what makes the recommendation defensible. The standard we hold to is simple: nothing gets recommended that we can’t show you on the report.
Common Mistakes to Avoid
- Brushing a flue with unknown liner condition. Running a brush down a flue you haven’t inspected can crack clay tile, separate a steel liner seam, or disturb glazed creosote without your knowing. The brush kit doesn’t come with a camera, so you’re guessing on the most important question.
- Trusting a visual check in Odessa’s dusty air. Caliche grit blows into open flues and coats the inside with a pale film that looks like light soot. What’s under that film is the problem, and a flashlight from the firebox won’t show it.
- Using chemical creosote removers without knowing the liner. Some chemical treatments are safe on steel and damaging on clay, and applying the wrong one can pit a flue. These are professional products used to spec, not homeowner products used by guess.
- Ignoring a stuck or leaking damper. A damper that doesn’t seat lets indoor air and gases move the wrong way and signals a problem in the smoke chamber above it. It’s a symptom worth diagnosing, not a piece to force.
- Skipping the cap and crown. In this climate, water and grit enter through a damaged cap, and the fix is a spec-grade Gelco or Famco installation, not a piece of sheet metal from the shed. A loose cover doesn’t stop much.
- Assuming “it looks fine” means it’s safe. A chimney can look cosmetically fine and have a cracked tile or a separated liner behind the masonry. The camera is the only way to know, and the inspection is the foundation the rest of the work sits on.
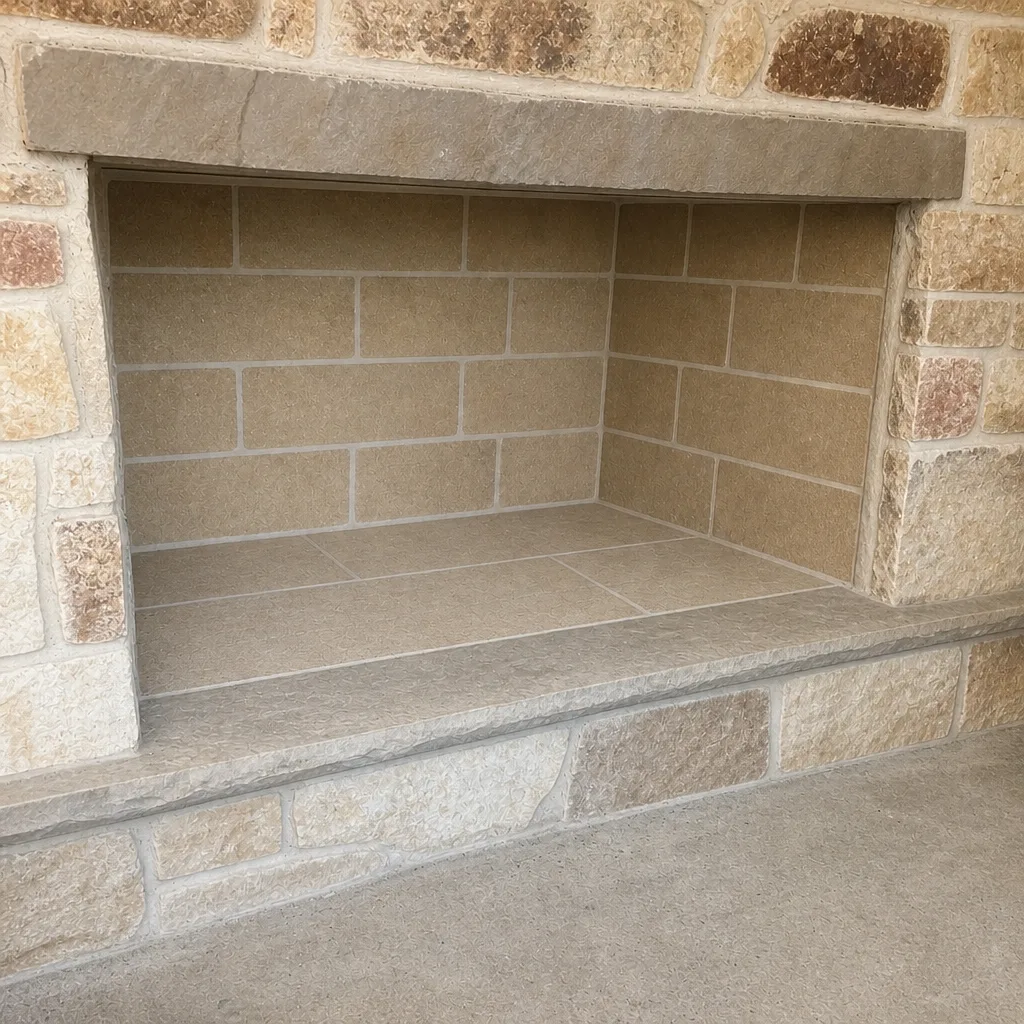
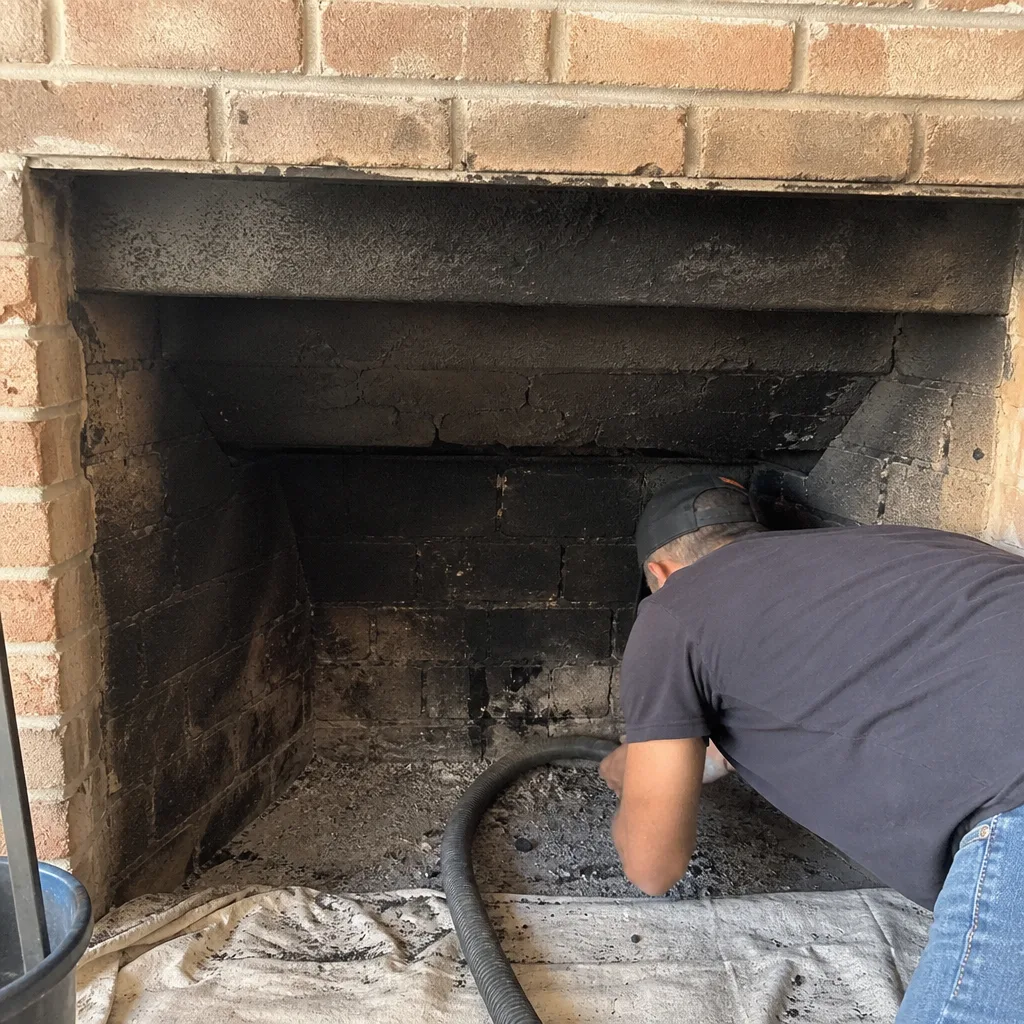
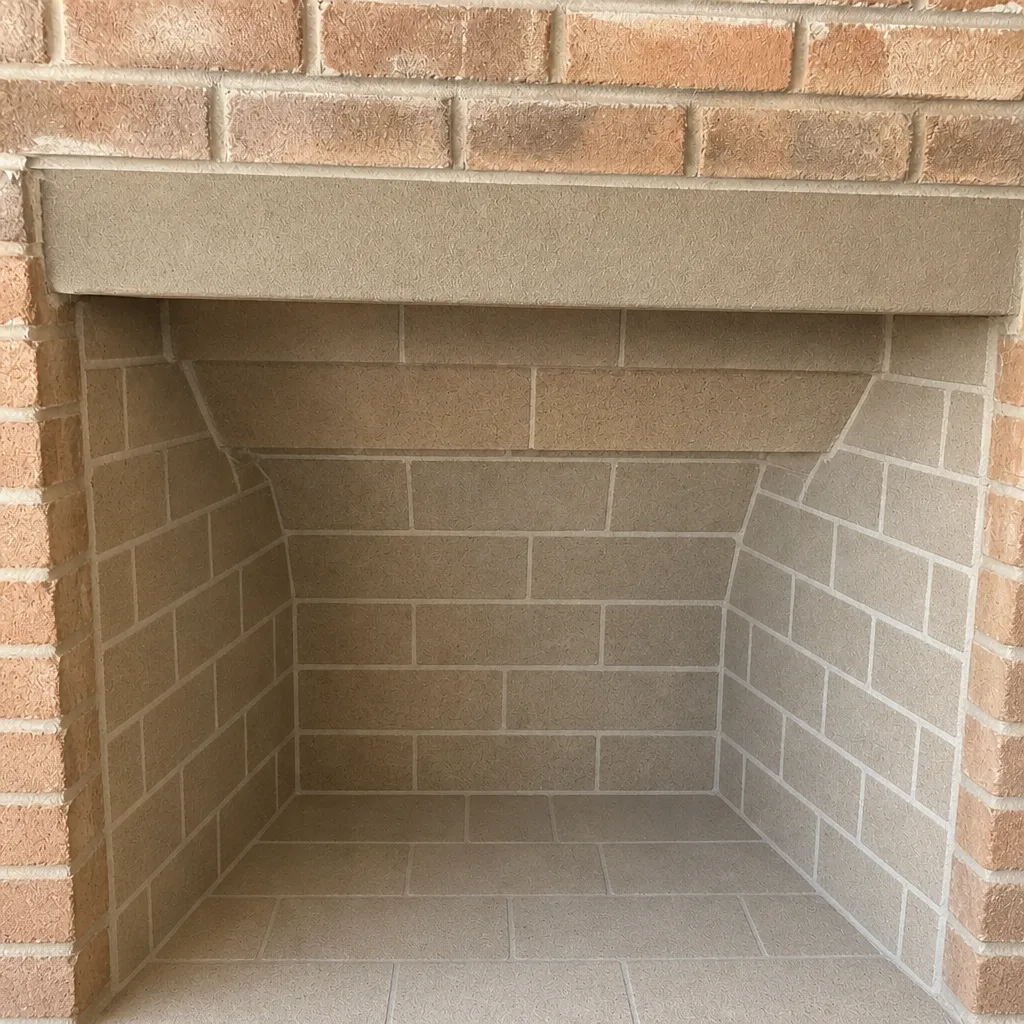
See the difference
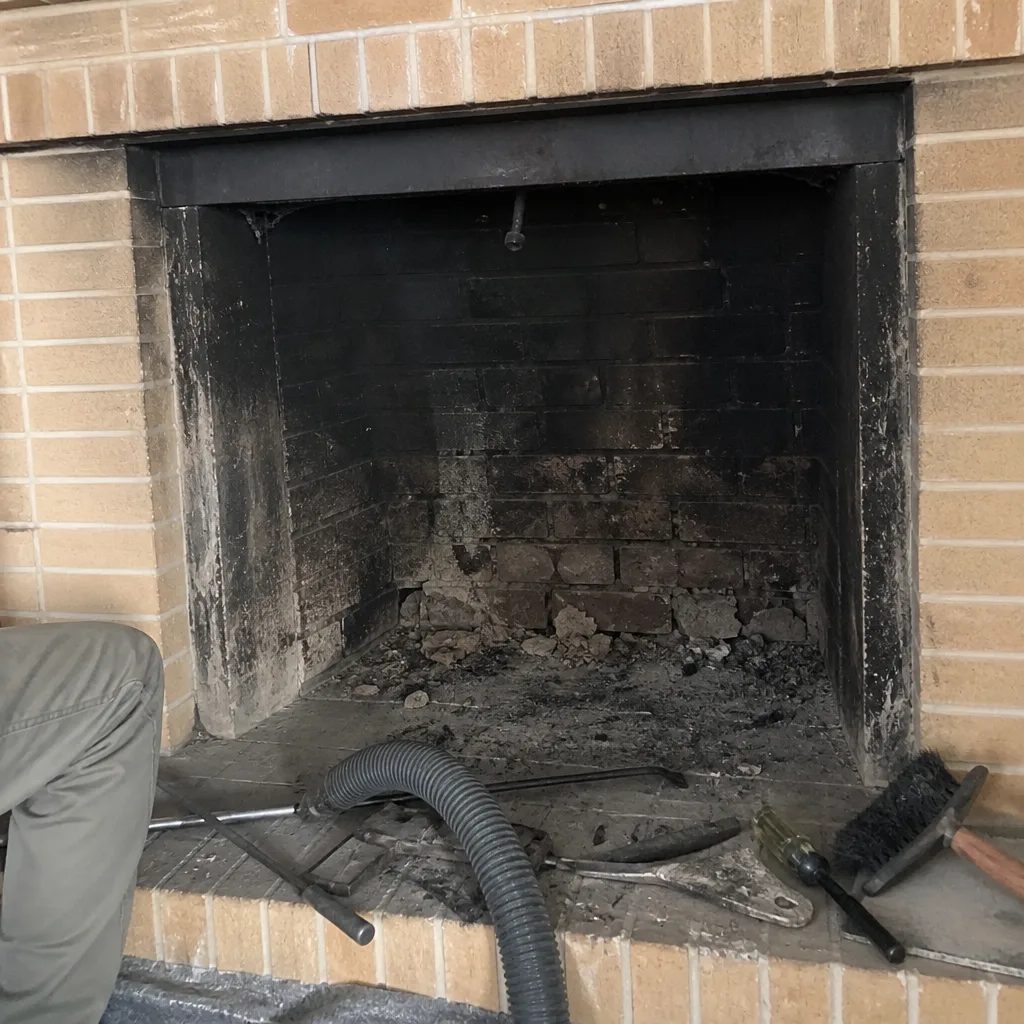 Before
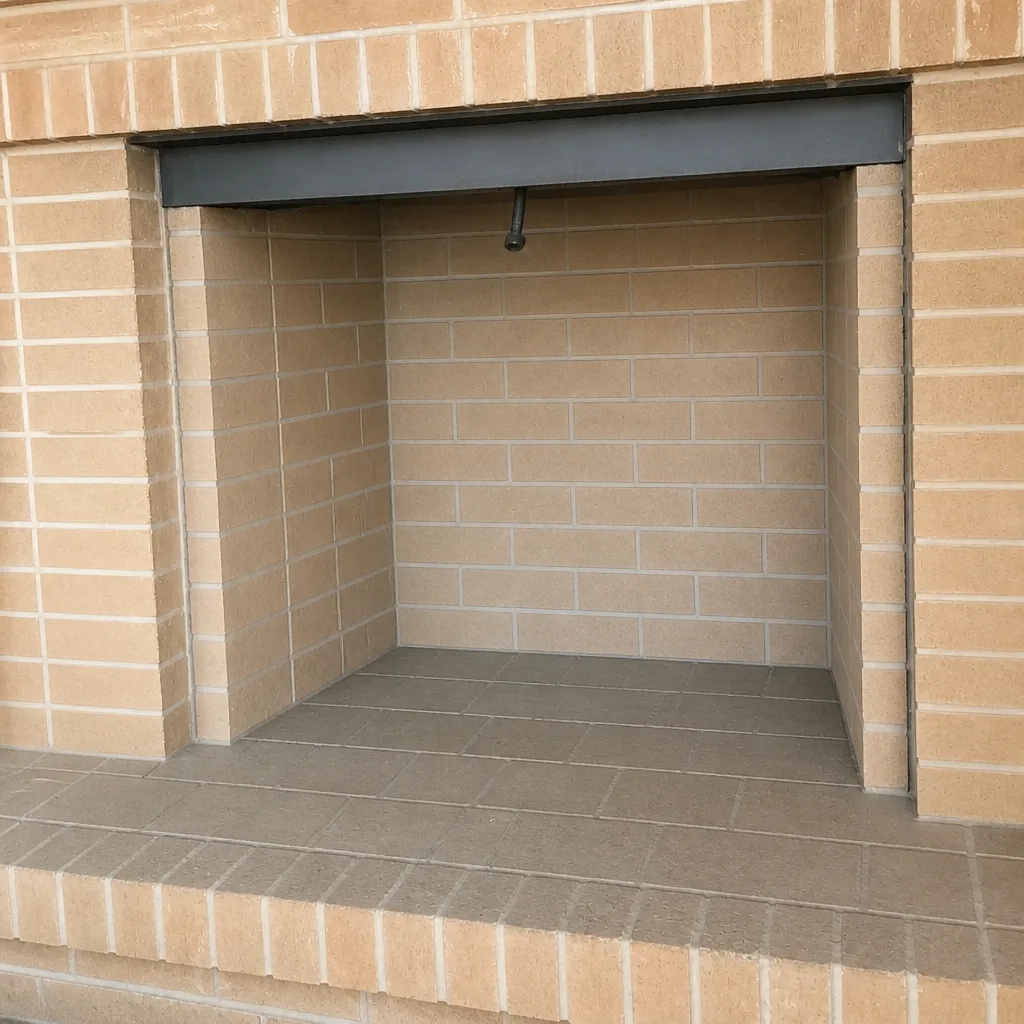 After
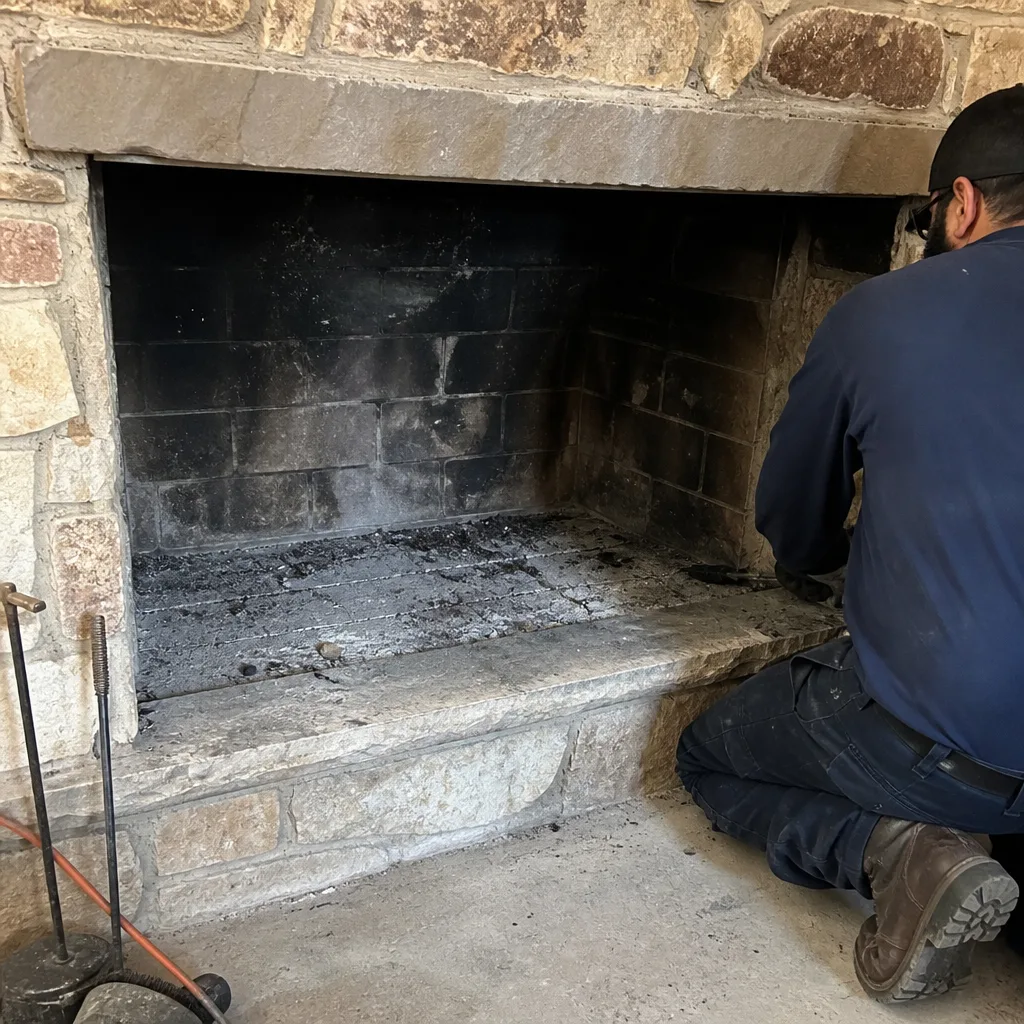 Before
 After
 Before
 After
When to Call a Professional
Call a professional when you can’t answer the liner question, when you’ve seen dark or glassy deposits inside the flue, when the chimney smokes into the room instead of drawing, when there was a past chimney fire you’re not sure was fully resolved, or when it’s been more than a season or two since the last inspection. Those are the cases where a brush can do more harm than good. The same applies if the cap is missing or damaged, the crown is cracked, or the chimney is on a home you’ve just purchased. In Odessa, Chimney Sweep Odessa offers free estimates. A professional inspection that includes a camera report and an honest assessment of what can safely wait is the right first call, and if a repair is needed, we can often complete it during the same visit. Call (833) 486-7503. We answer 24/7. Fast dispatch from 7am to 7pm, Sunday through Friday.
Frequently Asked Questions
A professional chimney sweep in Odessa is priced per job based on the size of the flue, how much deposit is present, and whether repairs are needed in the same visit, so there’s no single number that applies to every home. The free written estimate sets the final price and tells you exactly what’s included, and nothing gets recommended without camera evidence you can review. Call (833) 486-7503 for an exact quote – estimates are free.
You can safely brush a flue only if you already know its liner condition, its creosote stage, and that no structural damage is present, which means a professional inspection has established those facts first. Without that, a brush can crack clay tile, catch a steel liner seam, or disturb glazed creosote in ways you can’t detect from the firebox. The safe version of the question is: has this chimney been inspected? If not, start there.
Stage 1 is powdery soot and flaky deposit that a brush removes readily. Stage 3 is glazed, tar-like creosote that bonds to the flue wall like glass, resists brushing entirely, and burns hot enough to be a real ignition risk if disturbed. The difference matters because the cleaning method has to match the stage: a standard sweep on Stage 1 is routine work, while Stage 3 needs a different approach and sometimes a flue resurfacing afterward. A camera inspection is how the stage gets identified.
Because caliche grit blowing into an open flue coats the inside with a pale, sooty-looking film that hides the actual condition of the flue wall. What looks like light soot from the firebox can be a thin film sitting on top of cracked tile joints or hardened Stage 2 creosote. A camera inspection sees the layer under the grit, and a proper sweep removes it before the assessment is made.
The general rule in the trade is annual inspection, with a sweep whenever the deposit reaches a thickness that warrants removal, which usually works out to about once a year for a home that burns regularly and more often for heavy use. Homes that burn occasionally can go longer between sweeps, but the inspection is the thing that should happen annually. A chimney that has gone a few seasons without a look is overdue regardless of how it appears from the fireplace.
Not automatically, and no one should tell you otherwise without showing you the evidence. A liner needs replacing when the camera finds cracking, separated seams, or corrosion that compromises its seal, and not when the deposit is simply heavy. Our recommendation always comes with a photo report you can see for yourself, and if the liner is sound, we’ll say so plainly. If it isn’t, a DuraFlex liner system can often be installed during the same visit rather than scheduled as a separate job. Call (833) 486-7503 for an exact quote – estimates are free.
The Bottom Line
The DIY question isn’t about whether you can push a brush down a flue. It’s about whether you can see what the brush is doing, and in Odessa, caliche grit and the invisible stages of creosote make that answer no. What you can safely handle is the exterior check, the cap and screen look, the firebox debris, and the damper check. What needs equipment, training, and a proper inspection is the camera liner inspection, the creosote classification, and the smoke chamber assessment. The moment you don’t know your liner’s condition, the decision makes itself. If the inspection comes back clean, you’ve bought certainty for the price of a visit. If it doesn’t, you’ve caught the problem while it’s still small enough to fix as a repair instead of a reconstruction.
Call (833) 486-7503 for a free estimate. We answer 24/7. Fast dispatch from 7am to 7pm, Sunday through Friday, and we’re closed on Saturday. If you’re weighing a brush against a professional sweep in Odessa, the camera inspection is the piece that makes the choice obvious once you’ve seen the report.
Written by the team at Chimney Sweep Odessa.