
Last updated November 15, 2026
 Sweep & inspection
 Caps & crowns
 Flue relining
 Masonry repair
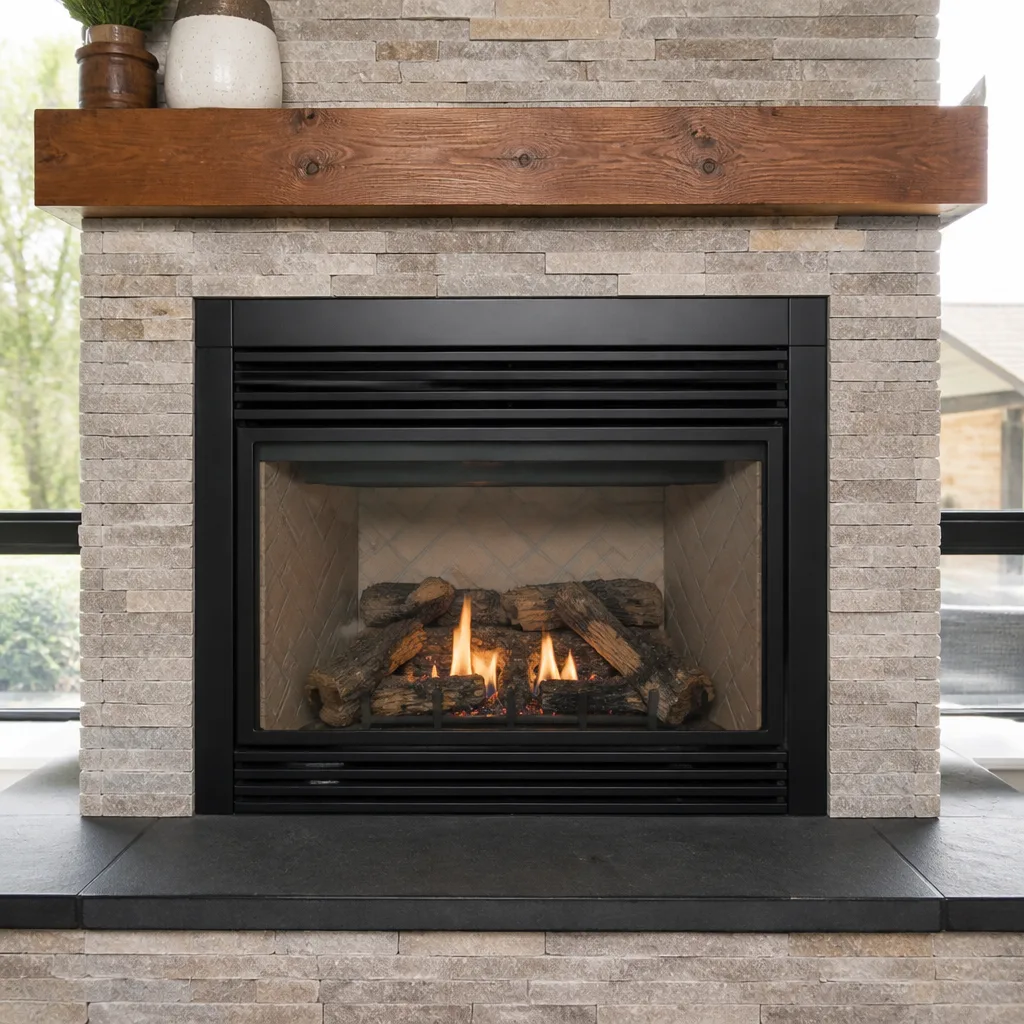 Gas fireplace service
Level 1 sweep and inspection to the NFPA 211 annual standard - flue, crown, cap, and flashing checked and photographed
Chimney sweep logs do not sweep chimneys. They loosen some creosote - which then falls where a brush and vacuum still have to collect it.
Chimney Sweep Maintenance Checklist for Odessa Homeowners
The standard “inspect once a year” rule was written for climates where chimneys run sixty-plus nights a season. Odessa doesn’t work that way. Here, the bigger threat isn’t burn frequency – it’s the nine months your chimney sits idle, baking in triple-digit heat and taking in blowing grit. A checklist copied from a national template built for rainy, high-use climates will tell you to watch for the wrong things and skip the ones that actually fail here. This guide is built around what West Texas chimneys really develop: mortar spalling from UV and temperature swing, crown cracking from caliche-laden wind, and cap corrosion from the region’s sulfurous air. You’ll get a September pre-season list, a March post-season list, mid-season wind-event checkpoints, and the line between what you can safely eyeball and what needs a camera.
Quick Answer
An Odessa chimney maintenance checklist has three phases: a pre-season inspection in September covering the crown, cap, liner, and damper before the first fire; a post-season assessment in March to catch heat and UV damage from the idle months; and mid-season checkpoints after high-wind events that displace caps or drive debris into the flue. Homeowners can safely do visual checks of the cap, crown, and exterior mortar, but anything inside the flue requires a Level 2 camera inspection by a trained technician.
Styles & brands we work with
- Sweep & inspection
- Caps & crowns
- Flue relining
- Masonry repair
- Gas fireplace service
Table of Contents
- Why a National Checklist Fails an Odessa Chimney
- The September Pre-Season Checklist
- The March Post-Season Checklist
- Mid-Season Checks After High-Wind Events
- Homeowner Visual Checks vs. a Level 2 Camera Inspection
- Material-Specific Maintenance Notes
- How Often Should You Actually Do This?
Why a National Checklist Fails an Odessa Chimney
Most chimney maintenance advice you’ll find online is written for cold, wet climates. It assumes the chimney runs hard all winter, that moisture comes from rain and snow, and that the main risk is creosote from constant burning. That advice isn’t wrong everywhere, but in Odessa the failure points are different.
The Permian Basin climate does its damage in the off-season. Summers push well past 100°F, and the swing between a hot afternoon and a cool night works masonry joints loose over time. Wind carries caliche dust and grit that lodges in the crown and around the cap, and that grit holds moisture against the surface when it does rain. The region’s air also carries sulfur compounds, which attack metal caps and dampers faster than they’d corrode in a cleaner climate.
What this means practically:
- Mortar spalling is driven more by thermal cycling and UV than by indoor fire use. Joints on a south- or west-facing chimney break down even in a season you barely burned.
- Crown cracking often starts where grit collects. A hairline crack that would be minor elsewhere lets water reach the masonry below.
- Cap corrosion shows up as rust-through and loose fasteners. Wind and sulfurous air together wear caps faster than the national advice suggests.
- Idle-season debris – dust, grit, and the occasional bird or nest – settles in the flue during the nine months it isn’t working.
So the calendar matters. A checklist timed to a cold-climate heating season misses the Odessa problem entirely. We time ours to the burn season and to the wind events in between.
The September Pre-Season Checklist
September is the right window for a pre-season check in Odessa because it’s before burning season starts and after the worst of the summer heat has passed. You want to find problems while there’s still time to fix them without rushing. Here’s the order we recommend.
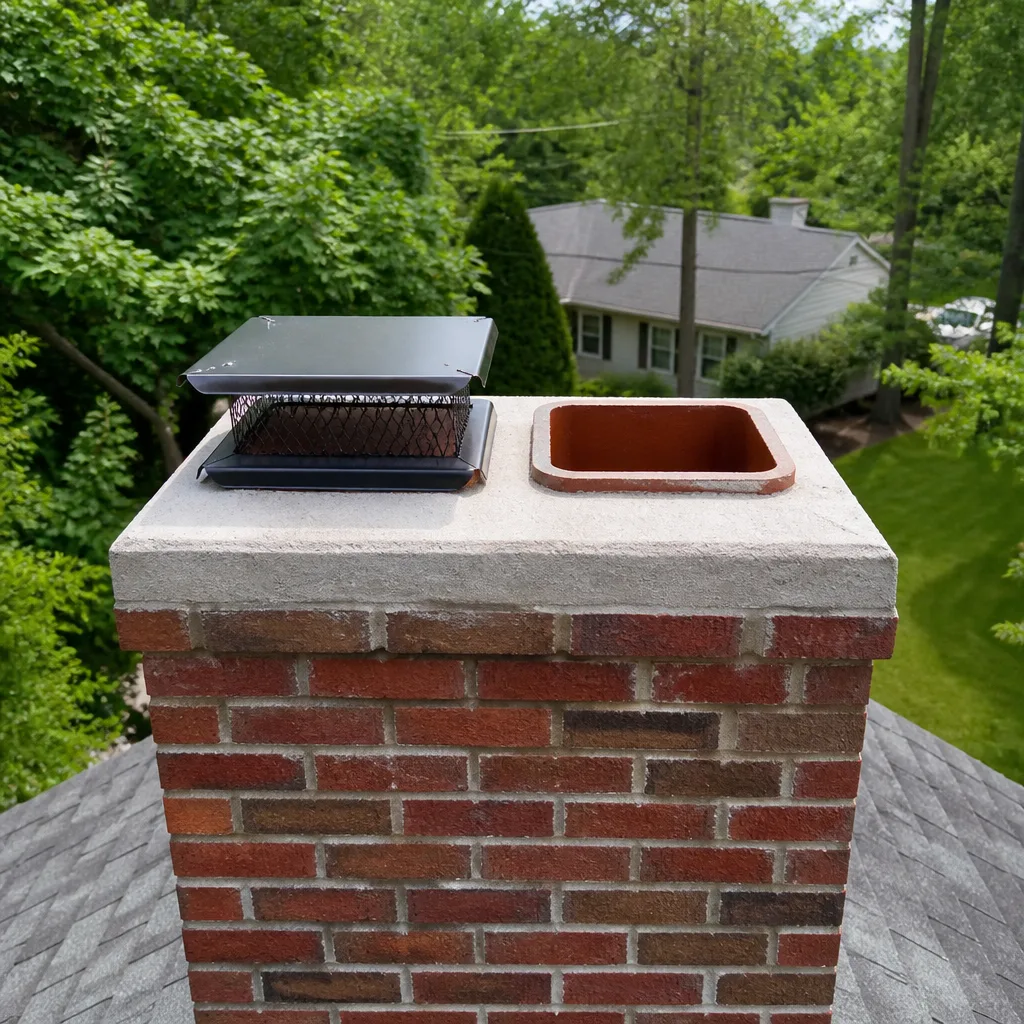
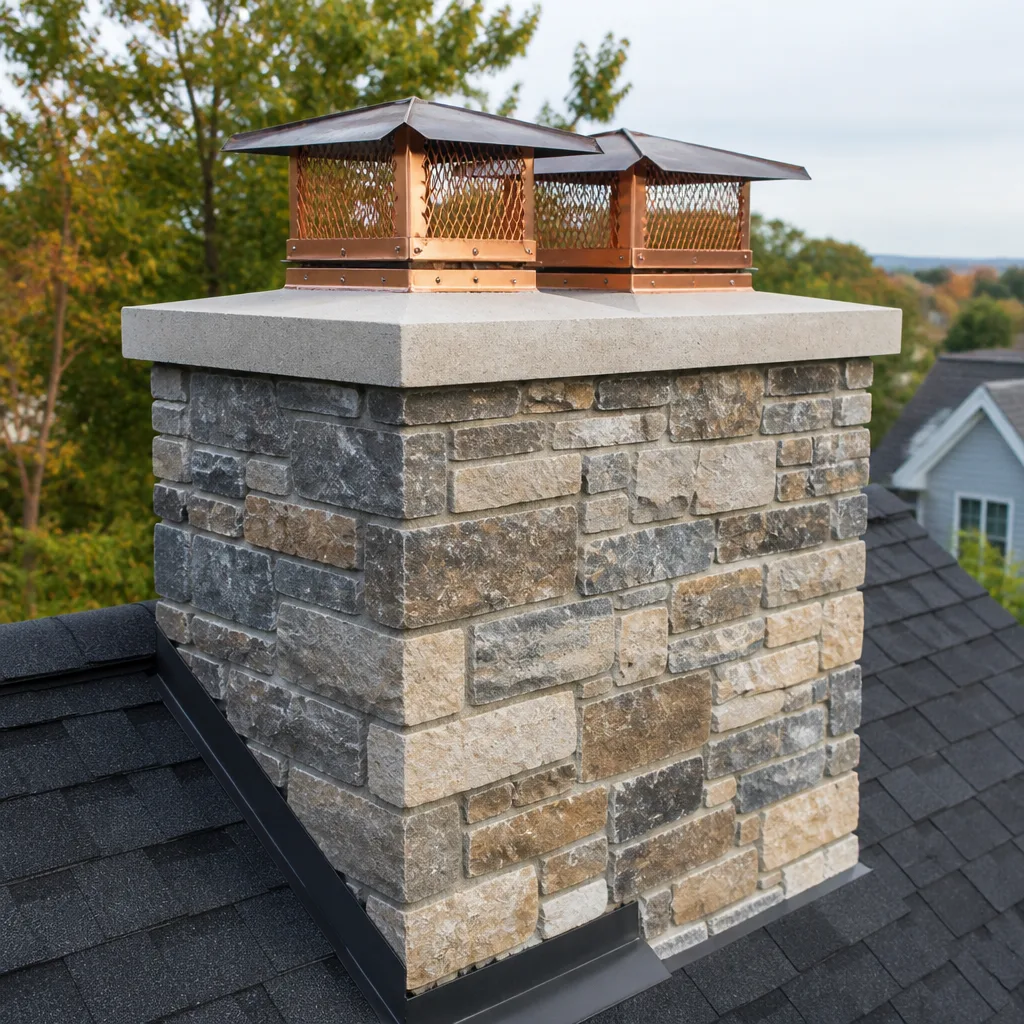
- Crown: Look from the ground or a safe vantage. The crown is the concrete cap at the very top of the chimney. Check for cracks, crumbling edges, or grit buildup. A cracked crown lets water into the masonry, and that’s the first thing to fix.
- Cap and spark arrestor: Check that the cap is seated, the fasteners are tight, and the mesh isn’t torn or clogged. Rust-through is common in Odessa’s air. A loose cap is a wind hazard and a wildlife-entry point.
- Flue and liner: From the firebox, look up. You can see the first few feet of the flue – enough to spot heavy soot, debris, or obvious damage, but not enough to judge the whole run. A full assessment needs a camera.
- Damper: Open and close it. It should move cleanly and seal when shut. A stuck or warped damper wastes heat and lets conditioned air escape.
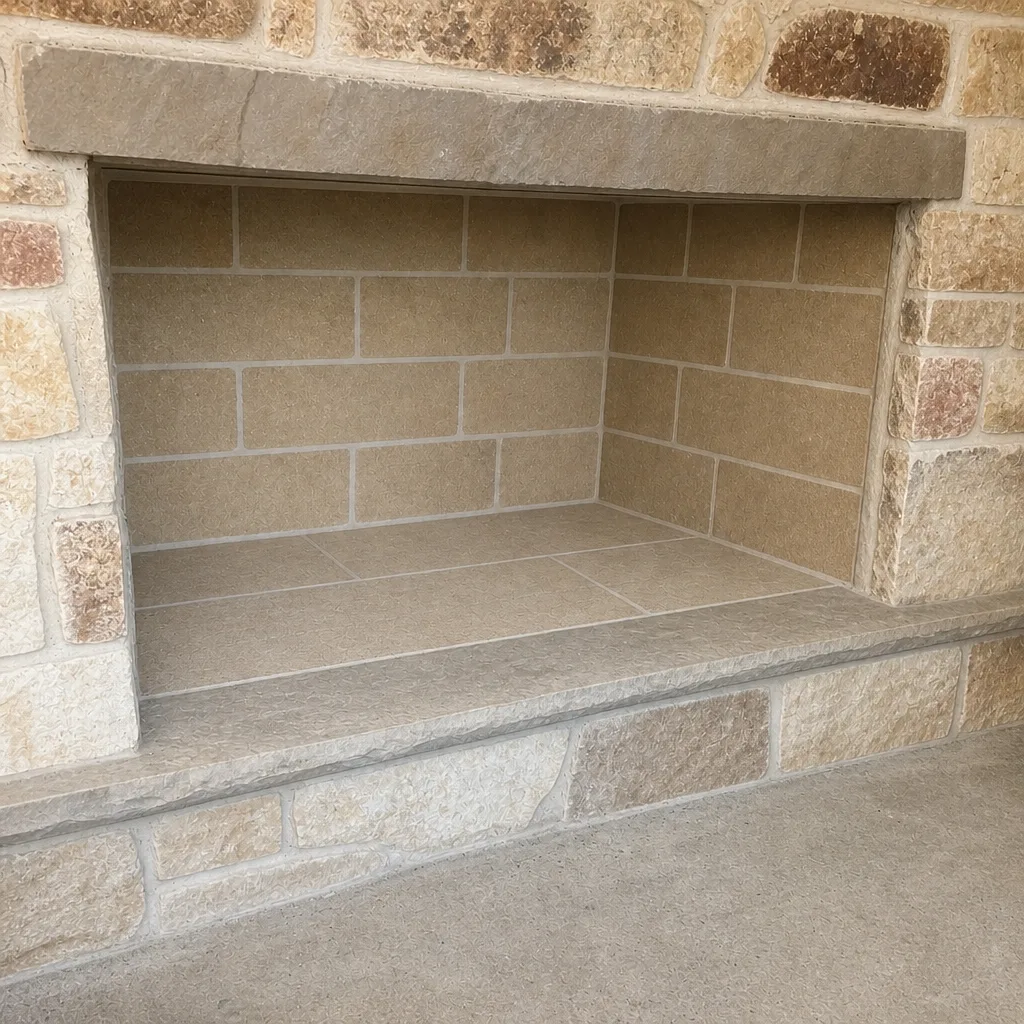
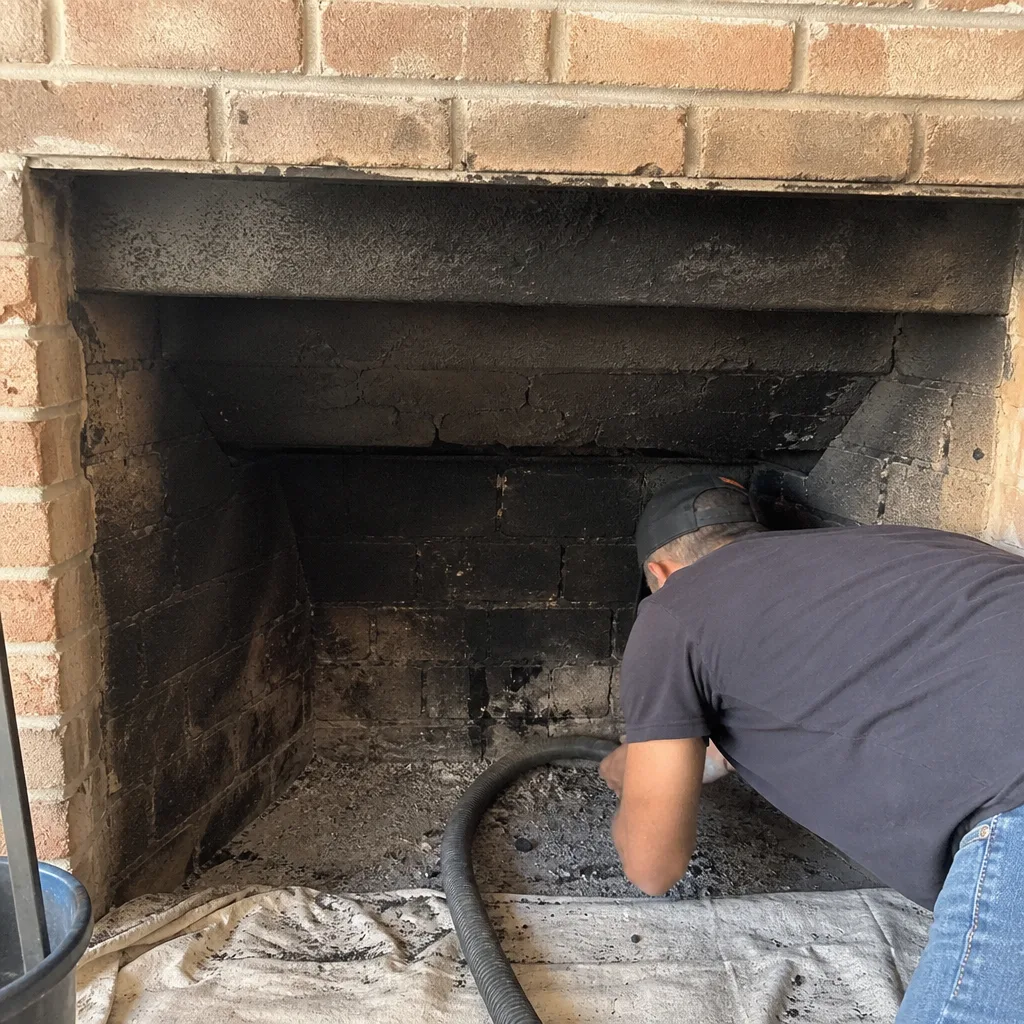
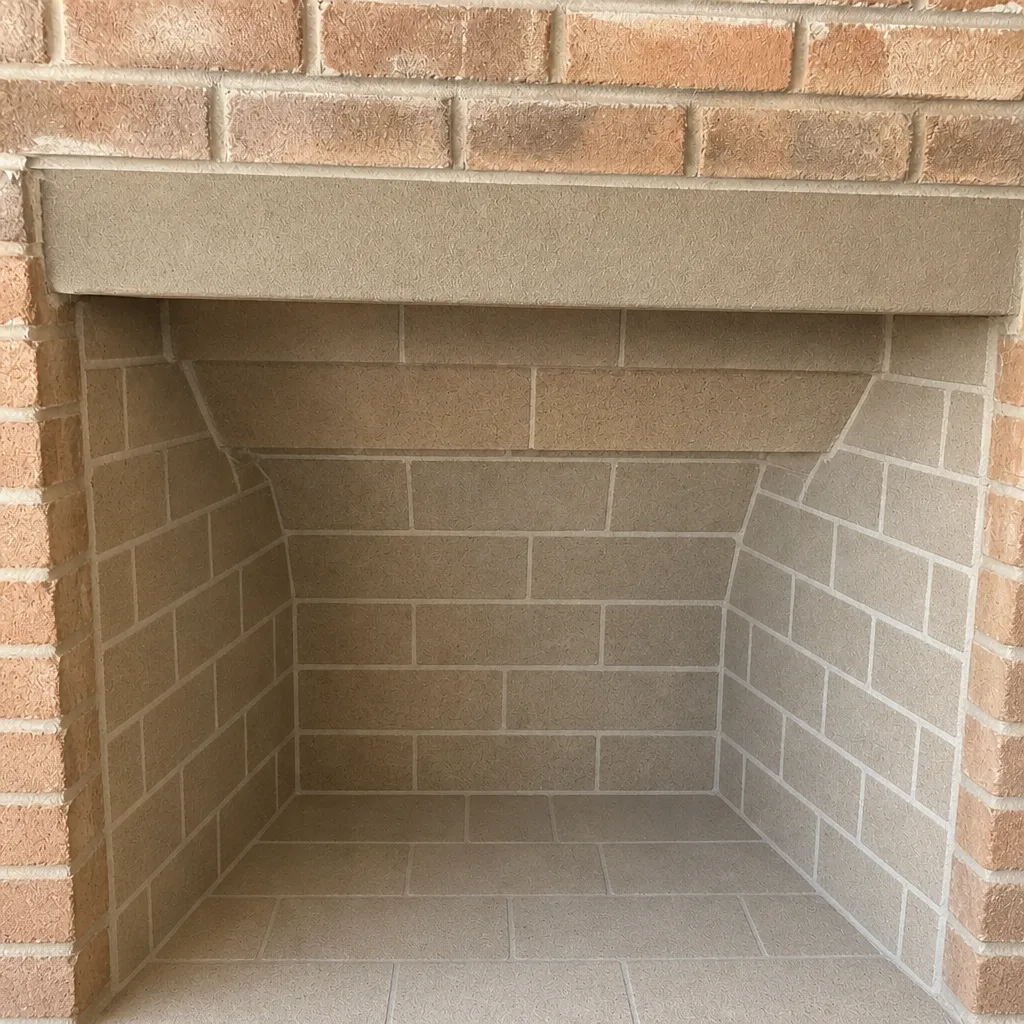
- Firebox: Check for cracked firebrick and deteriorated mortar joints. HeatShield materials allow in-house firebox and flue resurfacing when the brick and joints need more than a patch.
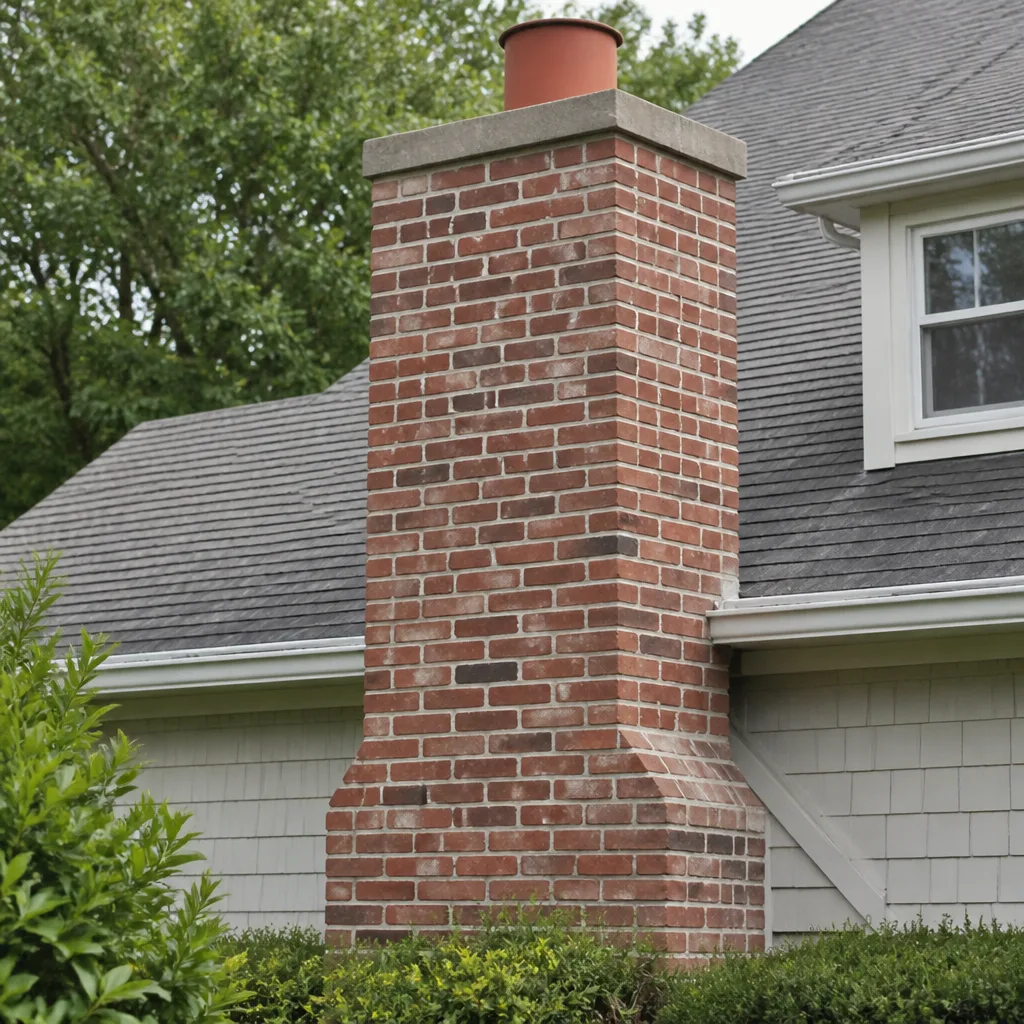
- Exterior mortar: Walk the chimney’s outside face and look for crumbling joints between the bricks. Spalling here is the thermal-cycling signature of West Texas.
- Flashing: Where the chimney meets the roof, check the flashing for gaps or lifted edges. This is a water path the crown can’t protect.
Any item on this list that turns up a problem above the firebox is a sign to book an inspection. A September chimney sweep paired with a camera inspection catches most of it before the first fire.
The March Post-Season Checklist
When the burn season ends, the chimney doesn’t stop aging – it just stops working. March is the time to assess what dormancy did. The heat and UV of the coming months do more damage to mortar and flashing than the winter did, so the spring checklist is about protecting the exterior and interior from the idle season.
What March should focus on:
- Mortar joints after winter: Temperature swing loosens joints over the cool months, and the freeze-free but high-swing pattern still opens hairline cracks. Catch them before the summer heat widens them.
- Flashing after winter wind: High winter winds can lift flashing edges. If the seal has failed, summer thunderstorms find that gap.
- Crown and cap wear: Look again for new cracks or grit buildup from the winter’s wind. A cap that survived the burn season may have lost fasteners to a single gust.
- Creosote accumulation: Even a light burn season leaves some creosote. It hardens as the flue idles, and once it’s baked on, it’s harder to remove. A spring sweep while it’s still soft is easier on the liner.
- Dormancy preparation: If the chimney will sit closed for the summer, make sure the damper is shut, the cap is sound, and the flue is dry. Moisture plus heat plus sulfur air is what eats metal parts.
We’ve seen plenty of Odessa chimneys that looked fine at first light in fall and showed real crown and mortar damage by the following September. The spring check is what catches the drift early, before it turns into a repair.
Mid-Season Checks After High-Wind Events
Odessa’s wind is a maintenance trigger all by itself. A single strong event can lift a poorly-seated cap, drive grit and debris into the flue, or open a flashing seal. The national template never mentions this because much of the country doesn’t see this kind of sustained wind. Here, it’s a routine checkpoint.
After a high-wind event, check these four things:
- Cap seating and fasteners: Look up. If the cap has moved, tipped, or lost fasteners, don’t defer it. A dislodged cap is an open flue, and the next rain or wind-blown grit goes straight down.
- Debris in the firebox: Grit, leaves, and even nesting material can end up in the firebox after a wind event. Clear it before the next fire. Never light a fire with a blocked or partially blocked flue.
- Flashing and roof-line: Walk the outside. Wind commonly lifts flashing edges. A lifted edge is a slow water leak you won’t see inside for weeks.
- Any new draft problem: If the chimney suddenly draws poorly or smokes, that’s usually an obstruction or a cap problem after wind. Stop burning and get it looked at.
Most wind checks are quick. The one thing we don’t recommend is climbing onto the roof to do them yourself. A trained technician can check the cap and flashing safely and confirm the flue is still clear with a camera.
Homeowner Visual Checks vs. a Level 2 Camera Inspection
There’s a clean line between what a homeowner can safely check and what needs a camera. Getting this wrong is the most common way a checklist gives false confidence.
What you can safely check yourself:
- The crown, from the ground or a stable vantage point
- The cap and spark arrestor, visually
- Exterior mortar joints, by walking the outside face
- Flashing edges, from a distance
- Damper operation from inside
- The first few feet of the flue from the firebox
- Firebox brick and joints from the hearth
What requires a professional:
- The full length of the flue – camera inspection
- Liner integrity for its entire run
- Hidden mortar damage behind a sound-looking exterior
- Creosote thickness beyond the firebox view
- Any interior obstruction or chimney fire damage
- Flashing integrated into the roof and its seal
A Level 2 camera inspection is the only way to see the whole flue. It’s what turns “the chimney looks fine” into an actual diagnosis. Our technicians have up to 12 years of experience running these inspections, and the camera footage is what everything else gets based on: the sweep, the chimney repair, the recommendation. If there’s a problem, you should be able to see it in the footage yourself, not take our word for it.
That’s also why we don’t quote repair work before the inspection. Nothing gets recommended that the camera hasn’t shown first.
Material-Specific Maintenance Notes
What’s inside your chimney changes how you maintain it. Two common cases in Odessa:
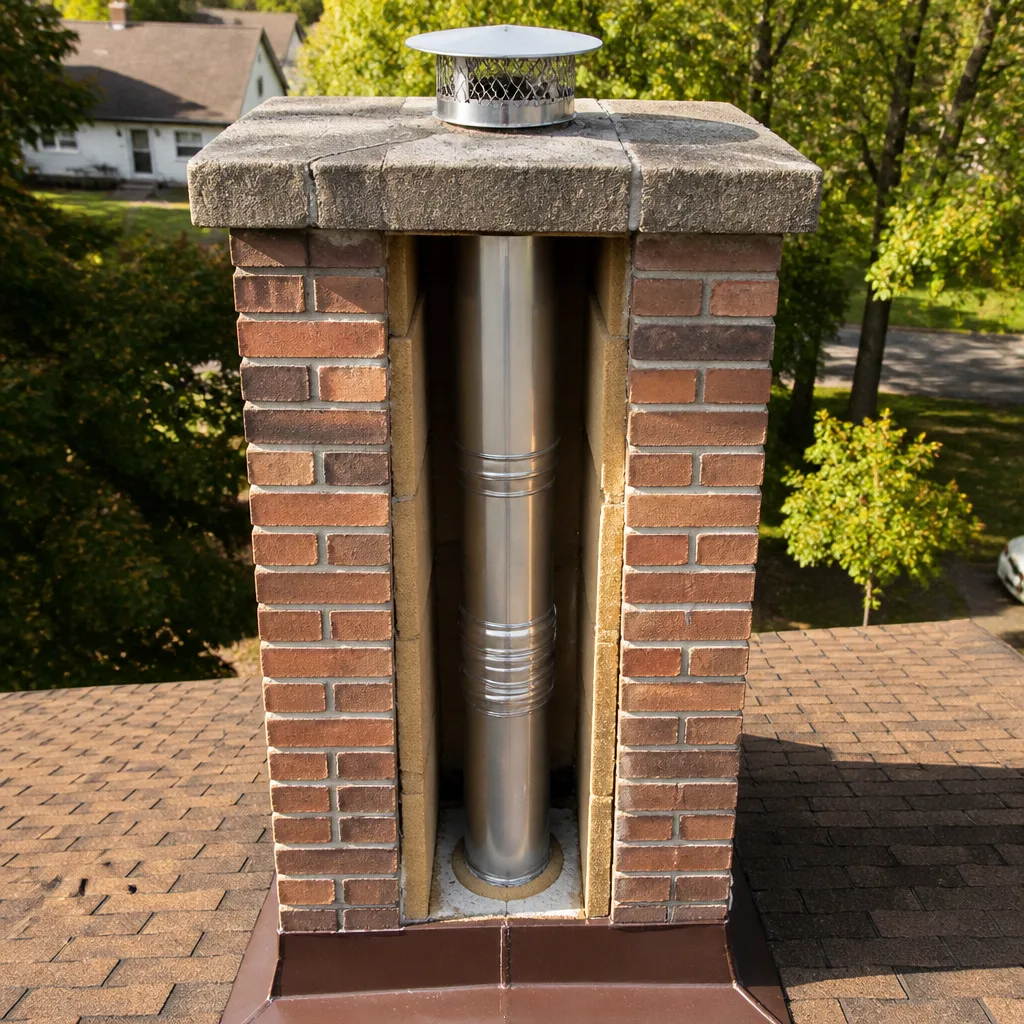
Clay tile flues. Most older Odessa homes have clay tile liners. Clay tiles take thermal cycling hard. A hot fire followed by a cool evening, repeated over years, sends hairline cracks through the tiles and their joints. Once a joint opens, creosote and moisture get behind the tile, and a compromised liner is a real safety concern, not just a maintenance item. Clay tile needs a camera inspection to verify joint integrity, not a visual flash from below. When the tiles are cracked or the joints have failed, relining is often the answer, and DuraFlex liner systems let us complete that relining during the repair visit rather than scheduling a separate job.
HeatShield-resurfaced fireboxes and flues. HeatShield isn’t a liner – it’s a resurfacing process for fireboxes and flue interiors that replaces the surface layer, restoring joints and smoothing the interior. A properly resurfaced flue reduces creosote adhesion and improves draft, which means a sweep every year is still the priority, but the surface is easier to keep clean. Maintenance on a HeatShield surface is straightforward: annual camera inspection, annual sweep, and prompt attention to any crack that shows up in the footage. The process lets us handle firebox and flue restoration in-house, which most sweep-only companies have to outsource.
Either way, the checklist items stay the same. What changes is what the inspection is looking for.
How Often Should You Actually Do This?
The short answer: a camera inspection and a sweep once a year, with the full pre-season checklist in September and the post-season checklist in March, plus a quick wind-event check any time Odessa weather throws real gusts at your part of town. If you burn more than the occasional fire, or you burn hard through the whole season, an extra inspection mid-season is a good idea.
A practical schedule:
- September: Pre-season check and a camera inspection before the first fire of the season.
- Mid-season (if you burn regularly): A sweep to clear creosote buildup.
- After any high-wind event: Quick check of the cap, flashing, and firebox.
- March: Post-season check and spring sweep while any creosote is still soft.
If you’re in an older Odessa neighborhood with original clay tile and a chimney that hasn’t been evaluated in some time, the right starting point is a full inspection, not a quick sweep. For more on the Odessa area and what we handle, we can point you to the right service.
Common Mistakes to Avoid
- Borrowing a cold-climate checklist. A list written for a rain-heavy, high-use climate skips the UV, wind, and idle-season items that actually matter in West Texas. Watch for crown cracks and cap corrosion in the off-season, not just creosote during burning. Most people are looking at the wrong nine months of the year.
- Skipping the inspection because the chimney “looks fine.” The most common serious problem is hidden behind a sound exterior. Spalled mortar and a cracked crown don’t announce themselves from the ground. A camera inspection sees the full flue; a quick look from the firebox doesn’t.
- Filtering cap corrosion through the filter of “rust is normal.” Odessa’s air corrodes metal caps and fasteners faster than a mild climate does. A rusted-through cap is a wildlife-entry and water path. It’s a maintenance item, not a cosmetic one.
- Never checking after high-wind events. Wind is a here-specific trigger. A cap lifted loose or a flashing seal opened by a gust is invisible from inside the house. A two-minute look after a big blow catches it before it becomes a leak.
- Assuming a light burn season means a light maintenance year. A chimney that ran only a few nights still sits through nine months of 100°F heat and grit. Dormancy is when the mortar and cap age, not just when you’re burning.
- Climbing onto the roof to “check the cap” yourself. The fall risk is the part people underestimate. A trained technician inspects from a safe vantage and confirms the flue with a camera. Height work on a roof is not a homeowner task.
- Treating a sweep as the whole job. A sweep clears creosote; it doesn’t diagnose a cracked crown, a failing liner, or a lifted flashing. A maintenance program ties sweep, inspection, and repair together.
See the difference
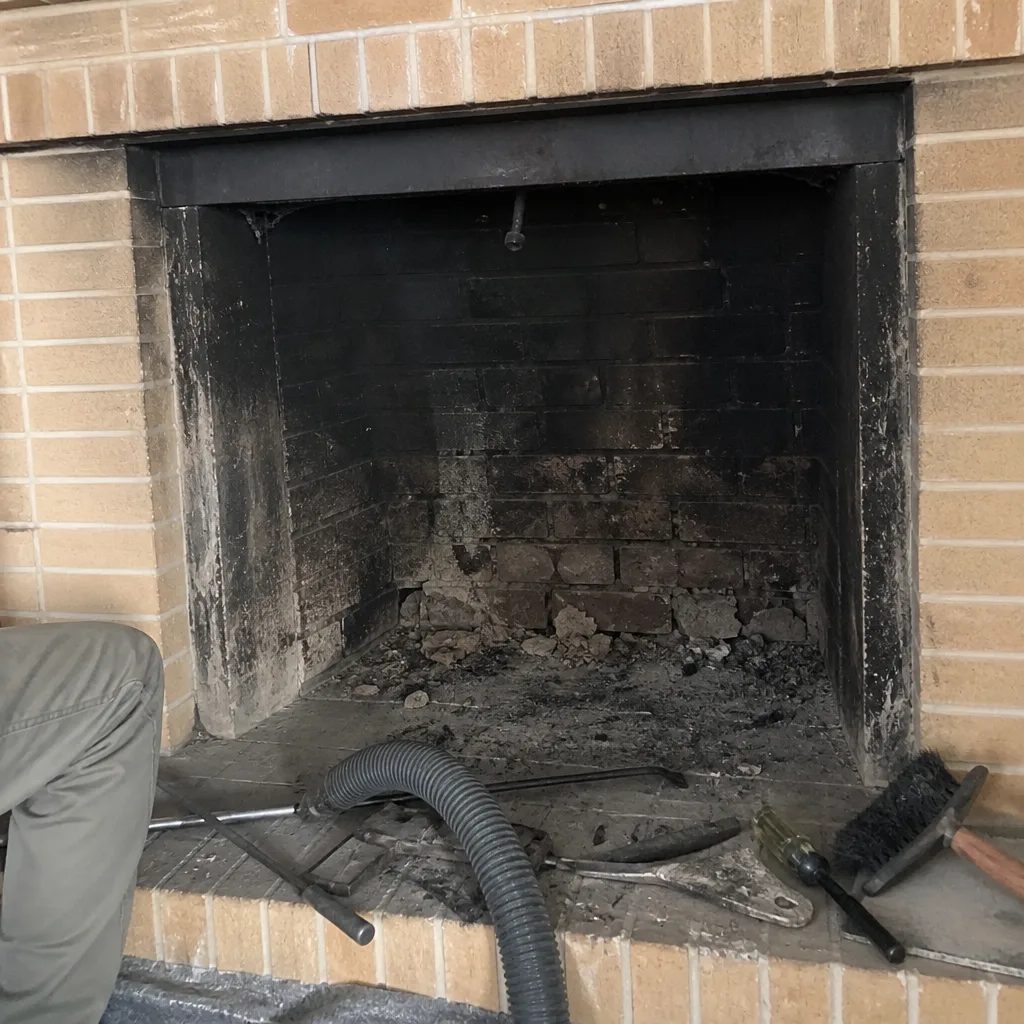 Before
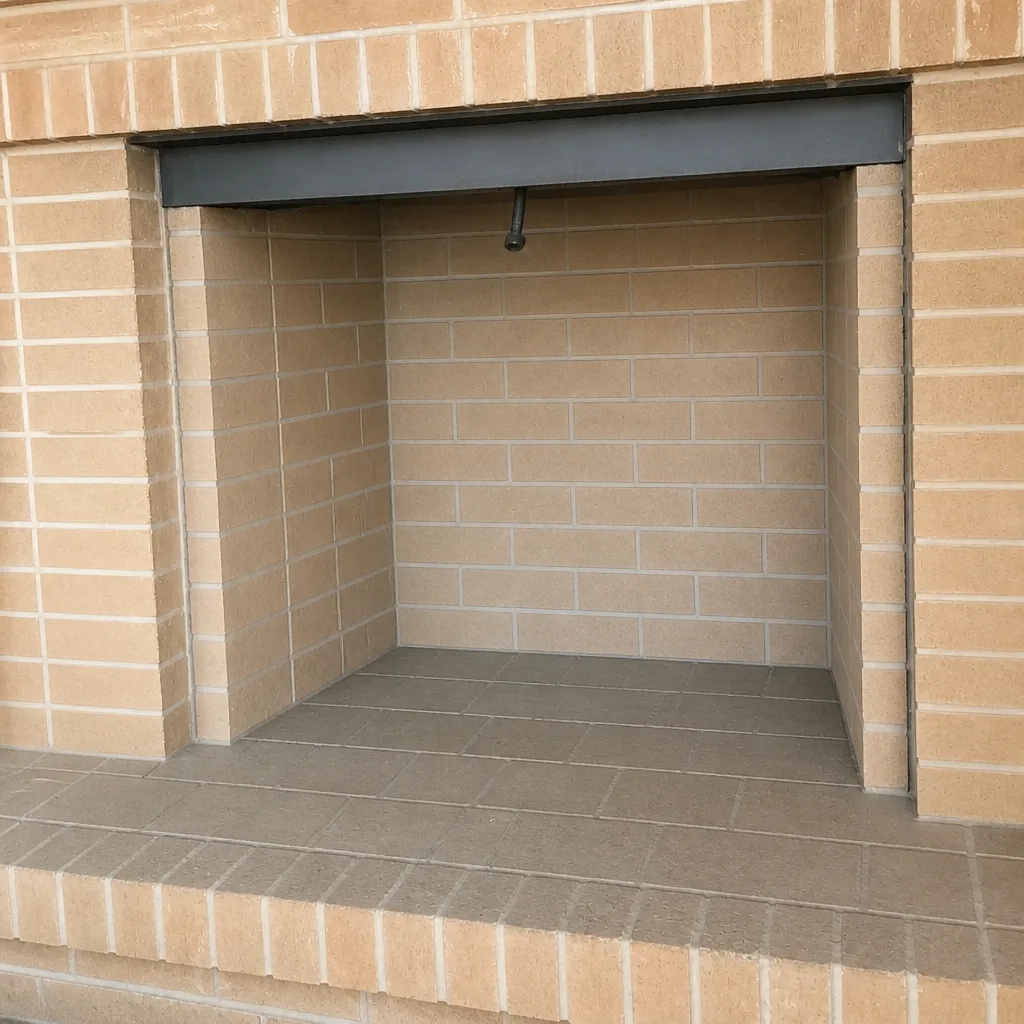 After
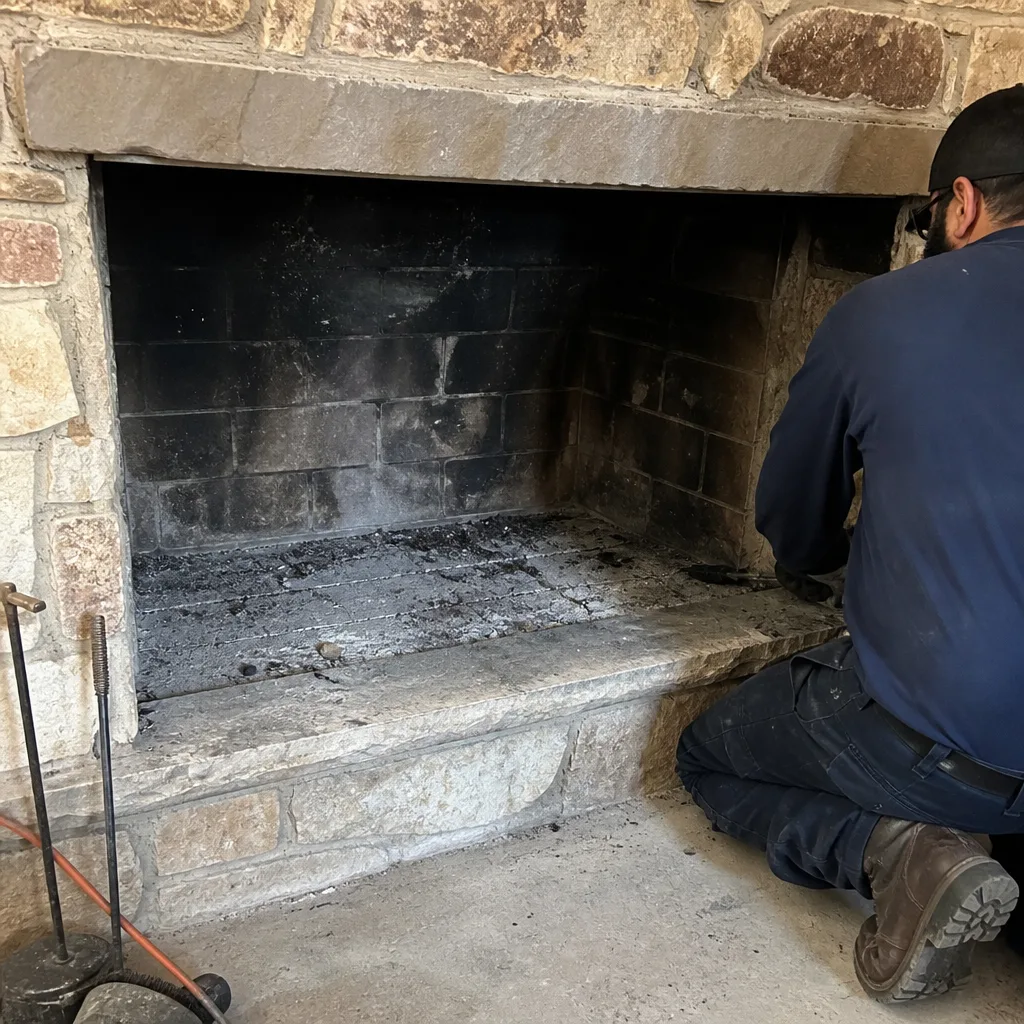 Before
 After
 Before
 After
When to Call a Professional
Call a professional for anything above the firebox, for the full flue, and for any repair that needs material specification – a reline, a crown rebuild, firebox resurfacing, or cap replacement. Schedule a full inspection before your first fire of the season if the chimney hasn’t been evaluated in a year, if you’ve recently had high-wind damage to the roof or cap, if you’ve seen new cracks in the crown, or if the firebox brickwork is aging. Do not attempt repairs inside the flue or on the roof yourself; a properly lined flue and a sealed crown are safety-critical, and the wrong fix can hide a bigger problem. Chimney Sweep Odessa offers free estimates in Odessa – call (833) 486-7503. We answer 24/7. Fast dispatch from 7am to 7pm, Sunday through Friday.
Frequently Asked Questions
Yes, an annual inspection is the right cadence in Odessa because the idle season is when most damage forms. Even if you burned only a handful of fires, nine months of heat, UV, and blowing caliche grit works on the crown, cap, and mortar. The September inspection catches what the summer did before the first fire. Call (833) 486-7503 for an exact quote – estimates are free.
A sweep removes creosote and debris from the flue; an inspection diagnoses the condition of the flue, liner, crown, cap, and firebox. A sweep without a camera inspection tells you the chimney is cleaner, not that it’s sound. We recommend both together, because the inspection is what determines whether any repair is needed. Call (833) 486-7503 to book a sweep and inspection.
You can safely check the crown, cap, exterior mortar, flashing edges, damper, and the firebox from the hearth. You cannot safely inspect the full flue, the liner’s full run, hidden mortar, or creosote thickness beyond the firebox view – that requires a camera and a trained technician, and inspecting from the roof is a fall hazard. Call (833) 486-7503 and we’ll tell you what your camera inspection should cover.
You need a new liner when a camera inspection shows cracked clay tiles, failed joints, or damage that lets creosote or moisture get behind the liner. A visual look from the firebox won’t tell you; a full-run camera inspection will. If relining is the answer, a DuraFlex liner system can often be completed during the repair visit. Call (833) 486-7503 for a free estimate.
Sweep once a year at minimum, and more often if you burn regularly through the season. In Odessa, the spring sweep is worth doing while creosote is still soft, because a dormant flue lets it harden. If the chimney has gone more than a year without a sweep, book one before your next fire. Call (833) 486-7503 – estimates are free.
Skipping the checklist lets small issues compound through the idle months – a hairline crown crack widens, mortar joints spall, a rusted cap fails, and creosote hardens onto a liner that may already be cracked. The result is a bigger repair than a spring sweep and a cap replacement would have been. The camera inspection is what tells you where you actually stand. Call (833) 486-7503 for a free inspection estimate.
The Bottom Line
The Odessa chimney maintenance checklist works because it’s timed to what this climate actually does: heat, UV, wind, and nine idle months that age mortar and corrode metal faster than the burn season does. Run the September pre-season check before the first fire, the March post-season check before the summer heat, and a quick cap and flashing look after any big wind. Keep your homeowner checks to the exterior, crown, cap, damper, and firebox, and let a camera inspection handle the full flue. A sweep, an inspection, and a repair plan that uses professional-grade materials together are what keep the chimney sound season after season. Chimney Sweep Odessa offers all three – call (833) 486-7503 for a free estimate.
Written by the team at Chimney Sweep Odessa.